Friday, June 19, 2015

Mini Capsule Wardrobe 2

For those of you who missed it, in my previous post I showed you my mini capsule wardrobe (which I did not sew-with-a-plan). Instead, I created six garments from three pieces of fabric,motivated by both a Harry Potter movie and the desire to use up all my scraps, rather than add to the already existing Mt. Everest of scraps.

This week, I managed to photograph me actually wearing 4 out of the 6 garments. The photos are far from fabulous. Just quick shots, in front of the pantry, before I headed out the door to work.

Woven Nani Iro Tee & Black linen wide-legged trousers
beads by Elk, shoes by EOS , ebony bangle a gift from Africa


Denim tencel skirt
top by Gorman, necklace by Holiday, sandals by Saltwater


Grainline Tank / BHL Polly Top
necklace by mb, sandals by Saltwater, leather cuff by Rooband

Hopefully, I'll manage to photograph the other two garments next week. I hope you all have a lovely weekend.

Sunday, June 14, 2015

Mini Capsule Wardrobe


Hi there! It's been a long time hasn't it? Today I am sharing something I been working on over the past two and a bit weeks. It all started out with a basic plan. I wanted to sew a few new things to coincide with the slightly cooler weather. I was keen to make two pairs of long pants, in mid-weight fabric. Anything heavier is generally too warm by 10am when you live in the tropics. 
Here's what I had in mind:

- Wide-legged pants in black linen with a bit of a 'Japanese' feel to them.
- Slim-legged pegged pants in tencel to wear as an alternative to jeans.
- A new top. Just for fun. Just because. I wanted something simple yet a bit groovy, in that arty/gorman/autumny/Japanesey kinda way. I was thinking a woven-tee.

Next, I sourced these three pieces of fabric:

A. 1.5m Nani Iro Double Gauze from Miss Matatabi
B. 2.5m Black Linen from Tessuti
C. 2.5m Light denim tencel from Emma One Sock

After cutting out and sewing up the black pants and the mustard top, I got seriously nerdy. Here's what happened....

It was a long weekend and it was raining, so I was watching Harry Potter with the kids, while cutting out the denim tencel pants. As most of you would probably know, it's a pretty long movie. Add a few pauses while kids get drinks, go off the toilet, grab a snack, etc, then it's an even longer movie. Anyhow, when I'd finished cutting out the pants, there was still plenty of fabric left (and movie) so I decided to use up the leftovers and cut out a skirt. Well, by the time I'd finished doing that, I decided I still had enough tencel, Nani Iro double-gauze and movie to piece together a woven tank top. By the time I'd done that, Harry had still not managed to get hold of the philospher's stone, so I emptied the bag of black linen scraps sitting beside me and pieced them together to make a simple sleeveless top. Done. Nothing but a pathetic pile of scraps left on the carpet. So, I have Voldemort and his evil master plan to thank for turning three garments, magically, into six and thus creating my mini Winter capsule wardrobe.

I've written a little about each garment below. Nothing much. Just a few dot points. One interesting thing to point out though, is I used the same yoke on both pairs of pants and the skirt. I have used this particular yoke pattern for heaps of garments. I think a well-fitted yoke just makes easy work of so many projects. It's definitely a must-have item. 

I learned a few new pants-fitting techniques when I was making the toile for both pairs of pants. I actually made these up simultaneously. One leg was wide and the other slim. Easy-peezy and saved on calico. Anyway, I hope to share my fitting tips with you all one day. I think this post probably has enough going on already. Six garments in the one post is probably a bit ridiculous, but then again, who knows when I'll get around to blogging again. It's a long time between drinks these days!

1. Black Linen Pants
- Base pattern: Vogue 1143 (what a great pattern!)
- Pants were toiled and alterations made.
- Used previously toiled flat, curved yoke instead of waistband and zipper.
- Elasticised at back. Double casing of elastic.
- Added belt loops.
- Eyeballed pocket line.
- Added belt tie.


2. Denim Tencel Pants
- Base pattern: Vogue 1143 and Witchery RTW pants.
- Pants were toiled and alterations made.
- Used previously toiled flat, curved yoke instead of waistband and zipper.
- Elasticised at back. Double casing of elastic.
- Eyeballed pocket line.
- Yet to be hemmed....I plan on throwing them in the wash a few times first to allow for shrinkage through the length. I've already pre-washed and dried the fabric twice and thrown them in the wash once. My sister had a nightmare experience with shrinking tencel pants so I'm not taking any risks.


3. Denim Tencel Skirt
- Base pattern: JAG RTW skirt
- Used previously toiled flat, curved yoke instead of waistband and zipper.
- Curved hemline at sides.
- Elasticised at back. Double casing of elastic.


4. Nani Iro Woven Tee
- Base pattern: Country Road RTW top, previously toiled/sewn (here)
- Curved hemline at sides.
- LOVE the silver dots and circles!


5. Woven Tank
- Base Pattern: Grainline Tank, previously toiled/sewn (here)
- Contrast inspired by LBH Polly Tank
- Curved hemline at sides.


6. Black Woven Top
- Base Pattern: Simplicity 2406, previously toiled/sewn (here)
- Curved hemline at sides.


Hopefully, I'll get some photos of me wearing them over the week. Given my blog-slackness of late, I felt it was best to just get photos up. The sun was going down and my photographer was under pressure to get the chicken-run finished before nightfall. 

For those interested, the total cost of these three garments, including postage came to just under $200. Not bad!

Tuesday, March 24, 2015

My 40th Birthday Dress

(Yes, this little old blog continues to crawl along...just!) 

My 40th Birthday Dress


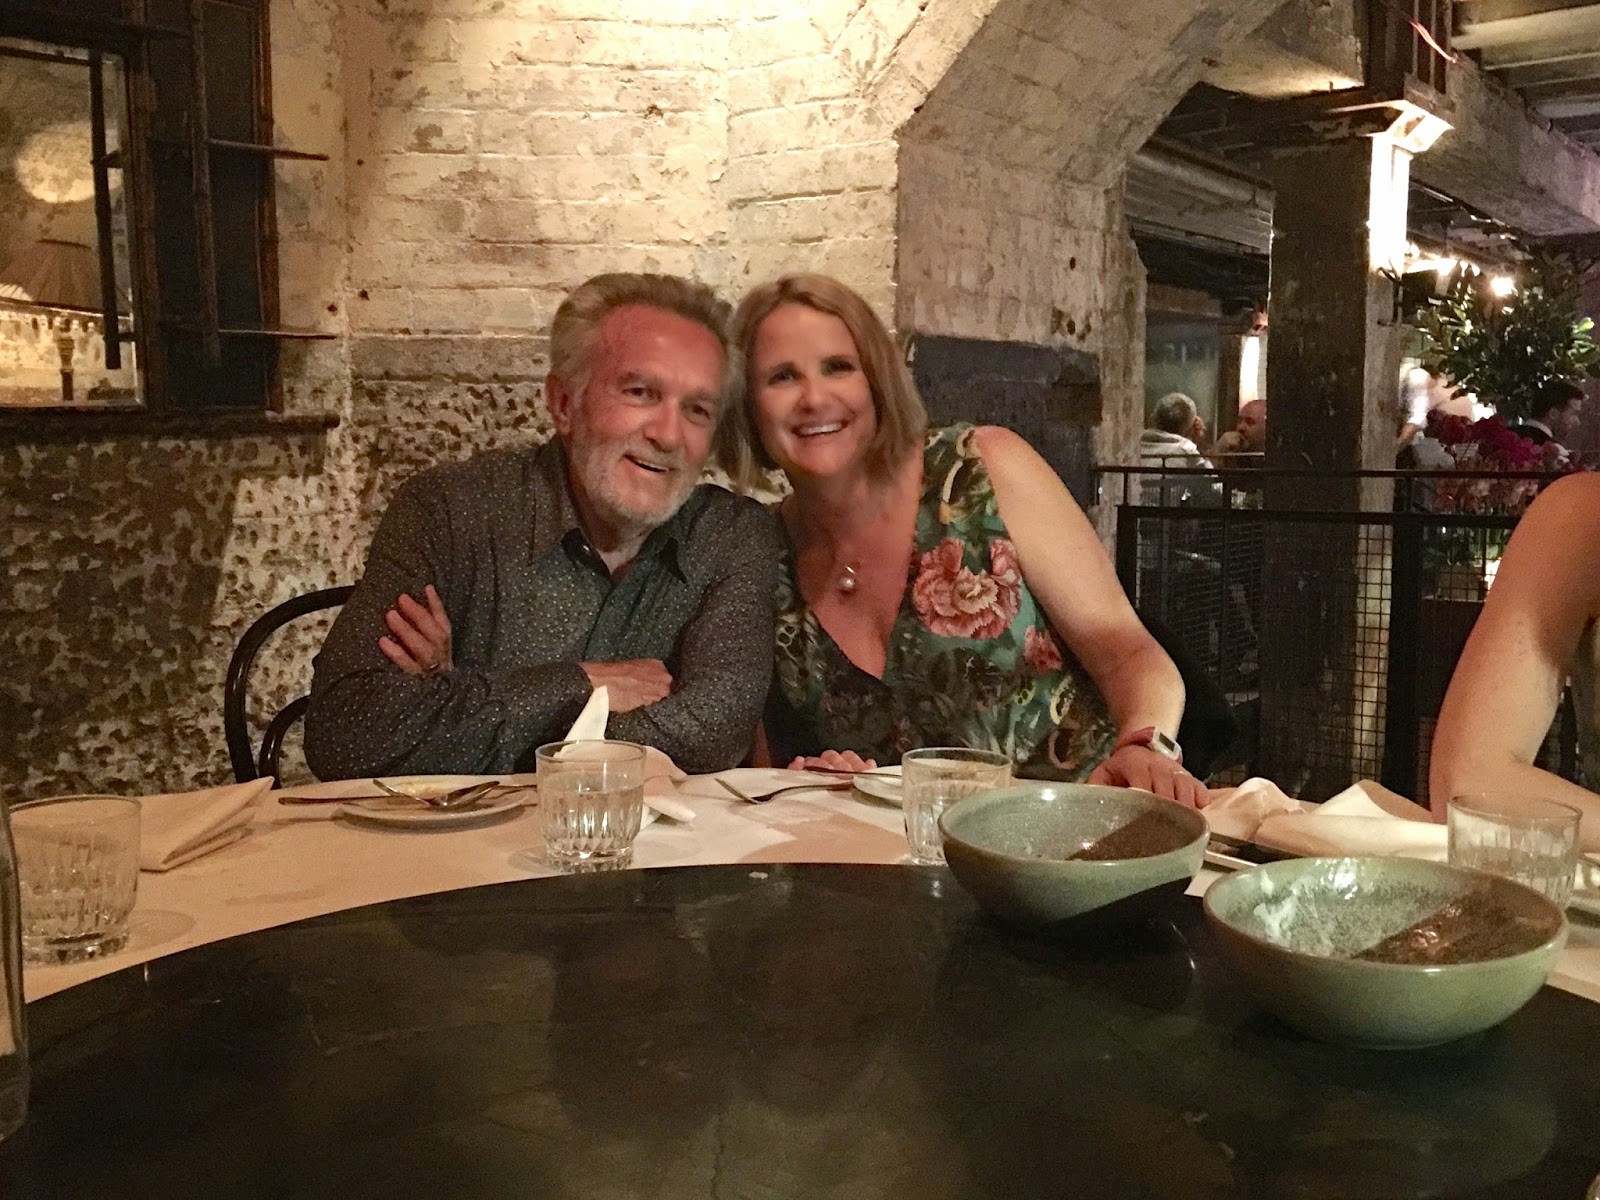
This dress has had two lovely outings since it's creation. It's maiden voyage was a fabulous banquet at Mr Wong's in Sydney with my parents, my husband, my three sisters and their wonderful husbands. My father turned 70 and same weekend I turned 40, so we all flew into Sydney for the weekend to celebrate.


It's second outing was last Sunday. My husband and two close friends, threw me a surprise birthday party - a wonderful birthday brunch with my Cairns friends at Nu Nu in Palm Cove. It was a perfect morning.


Last month I wrote a post detailing all my inspiration for this dress - a mash-up of Vogue 8241, Vogue 1247 and a witchery RTW playsuit. So did it all go to plan? Well, to be honest, the toiling took a lot more work than I originally anticipated. Here is my story...
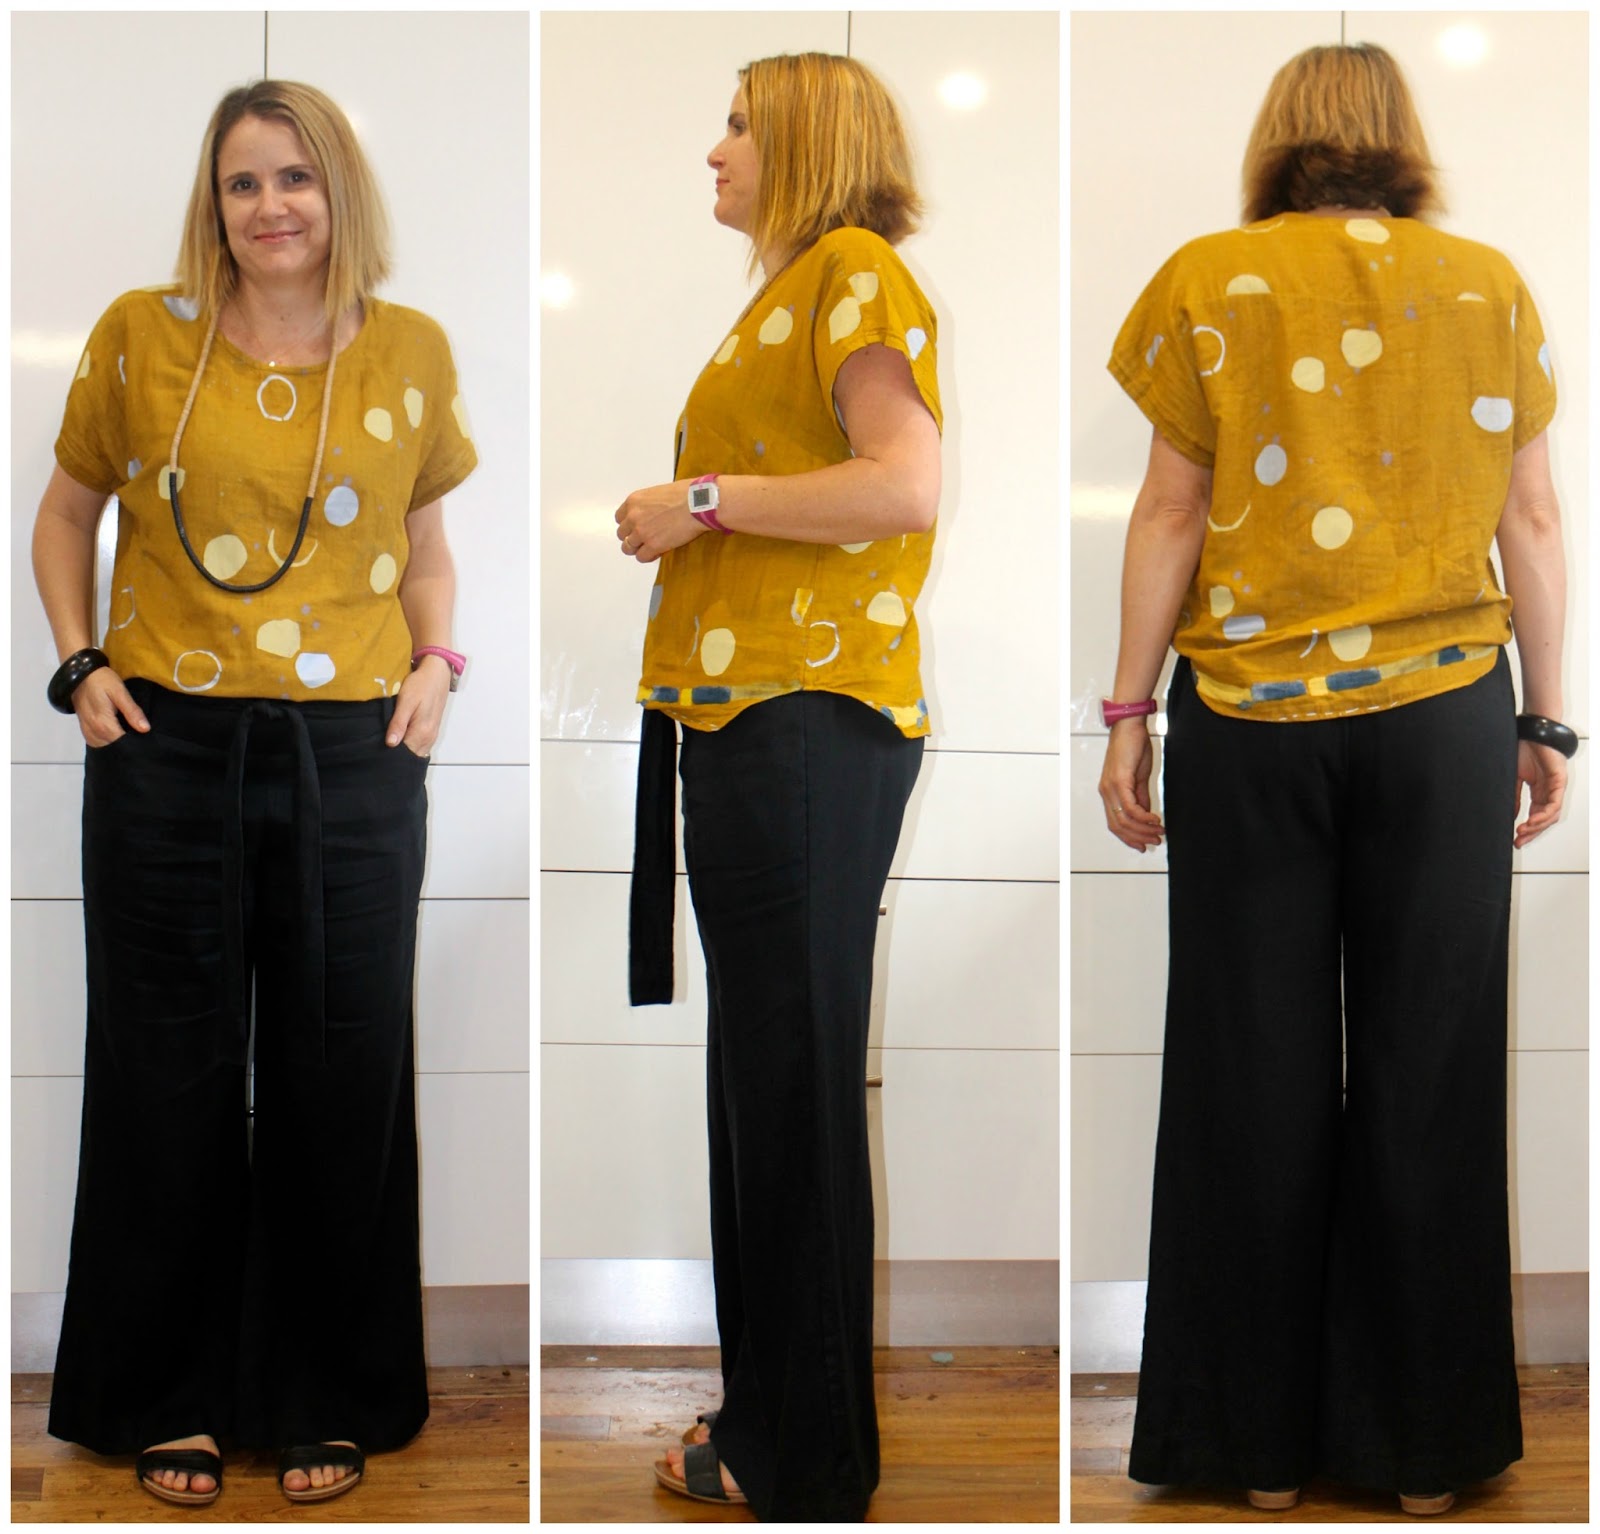
The Bodice Front
Taking a pattern off a RTW garment that has asymmetrical draping and gathering proved to be a serious pain in the butt. I had to play around with this a lot and spent far more time on it than I would have liked too. I was still fiddling with this, post-toile, once sewn up in the fashion fabric. I'm still not sure I've got it quite right. I think it would have been far easier to start with a commercial pattern for this style. I would much preferred to have the expertise of a professional pattern maker and drafter to provide me with notches and to determine drape, gathering etc.


The Bodice Back
After toiling up the bodice back from Vogue 8241, I was disappointed that it did not have the 'cut-away' look as suggested on the pattern envelope. I had to cut quite a bit away and have still ended up with something that does not look 'cut-away'. I could achieved this easily enough, but the practical side of my personality voted for bra-friendly in the end. 
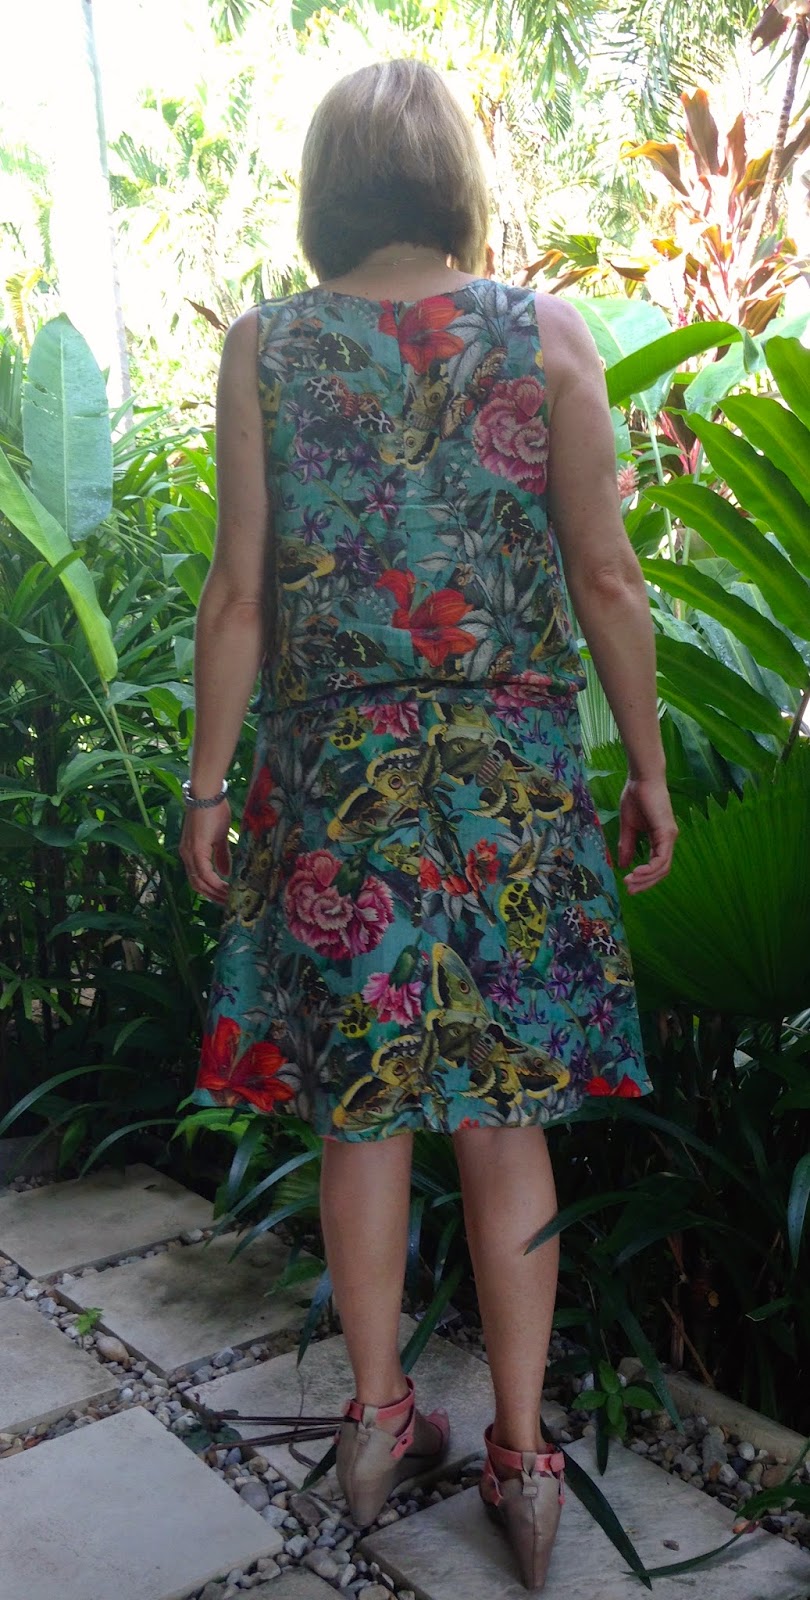


The Skirt
In the end, I ditched the skirt from Vogue 8241 and Vogue 1247 and went with the skirt from Vogue 1190, a dress that I sewed up for my husband's 40th back in 2011. I removed the seams at the side front and cut the front as one piece so I did not have to chop any flowers or butterflies in half.The skirt hangs and moves beautifully.
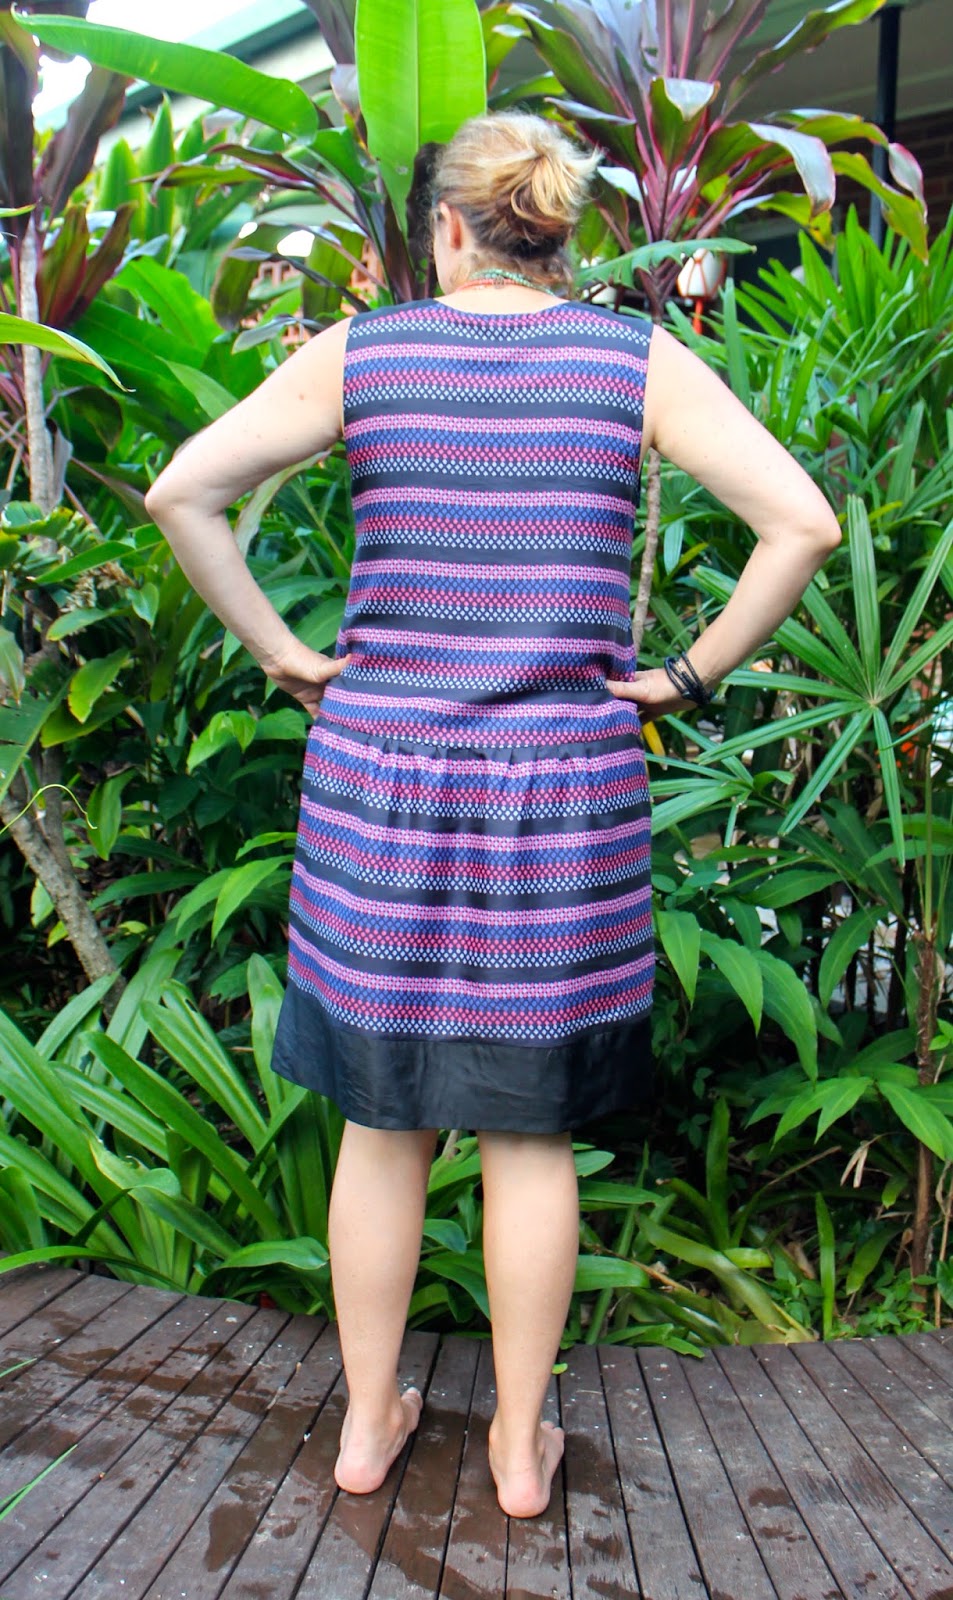
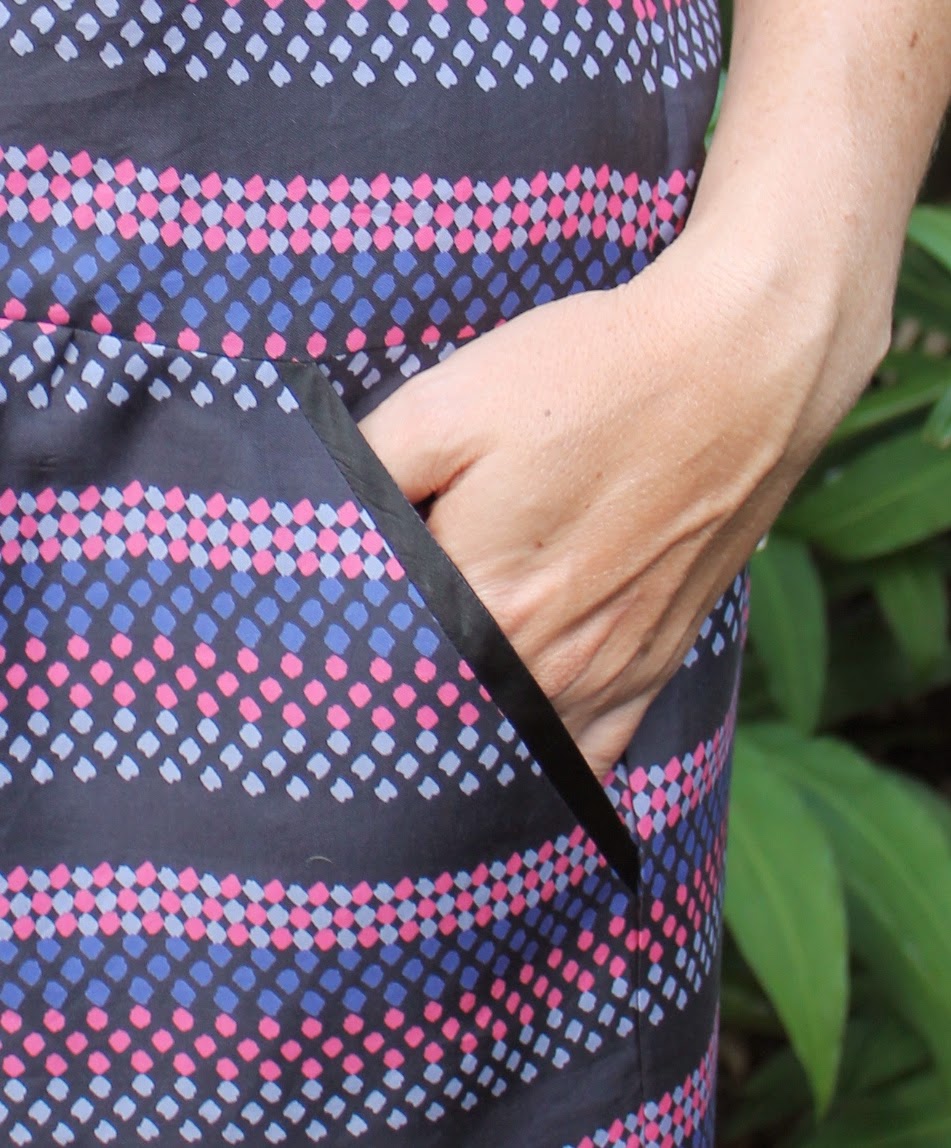


Adding a Waist-Stay
One thing I had to add was a waist stay...just above my hips. The skirt did not sit on my hips without falling. It needed a stay to keep it in place. Why a stay? I wanted to avoid placing the delicate fabric under stress at the side seams and so wanted to keep it semi-fitted. The stay is made using a wide piece of grosgrain ribbon that clips at the CB. I hand-stitched it at a few points along the bodice/skirt seam.


And just because these photos are sooooo dark, a little close up of the beautiful satin-backed CDC silk from Tessuti. My goodness, this stuff is gorgeous!


Overall, the garment was a success, not perfect but wearable and comfortable. I'm still not 100% sure it is quite right and may still fiddle with it if I'm ever inclined. The drape of the top and where it meets the skirt throws me a bit. I'm not sure if this is because it is wrong or just because it is unfamiliar...time will tell.

Sunday, March 1, 2015

Stripey Summer Dress

Pattern: G*rman Copy
Fabric: Silk twill from The Fabric Store


One of my younger sister's has quite an interesting wardrobe. She's always had a good eye for fashion and home decor and tends to keep her finger on the pulse regarding what's on-trend. I usually only get to visit her once a year, so when I do, I love looking through her wardrobe at the past year's purchases. We generally buy the same size in RTW so I get to try everything on. During my last visit, I whipped out the sad leftover rolls of Christmas paper and traced off a few things.

One of the dresses was a cute summery G*rman dress. The original dress looks a little funkier than mine - G*rman always has fabulous prints so it's hard to complete. It was also quite a bit shorter. I wanted my a little longer so it would be work appropriate but I wonder of I've gone a tad too long and entered into the world of frump. Hmmmmm. This could be a super quick alteration. Maybe it would help if I was actually wearing shoes. These photos was taken immediately after sewing the dress, as I wandered out to show off my new creation to my husband, which kind of explains the lack of shoes and sad looking hair. But hey, I did throw on a necklace, so it's not all bad.


I know that this is not a particularly flattering silhouette on me. The original wasn't super fabulous either. However, I was completely taken with the comfort factor. More and more, I'm reaching for really comfortable cuts - cuts that do not inhibit movement at all and are cool and floaty, particularly in summer. Summer in the tropics can be tough - the heat and humidity can become quite oppressive and debilitating. I want clothes that carry me though the day, rather than contributing to the discomfort. I'm quite confident that this dress and I will become good friends.


I found the construction of the pockets quite interesting. The contrasting black strip is actually part of the pocket facing. It folds back on itself. Quite nifty!


A few deets:
- The main fabric is a lightweight silk twill.
- The black contract is a silk habutai that has been interfaced with lightweight fusible interfacing.
- Armholes and neckline are finished with self-made bias binding.
- The hemband is cut on the fold.

Sunday, February 15, 2015

Furoshiki Market Bags

Furoshiki Bag
pattern from 

After my outdoor area spruce-up (see previous post), I was left with a pile of good quality outdoor fabric scraps - too good to throw out, yet not something I would use for a garment or hand-bag. Rather than throw them all out, I was inspired by SewJillian's post, to whip up a new set of market bags this afternoon.

Check them out....


I didn't line them, nor did I finished them particularly neatly on the inside as I would normally do. Given that they were only ever going to hold mangoes, passionfruit and other fruits, veges and salad items, I thought I could get away with a bit of slap-dash. Also, I didn't want to spend much time on them...I do have a birthday party dress that I should be focusing on!